Different sections of the front page are explained below:
Banner Slider #

1. From the Customize section, go to Front Page.
2. From Front Page, you will see Banner Slider Option.
3. In the Banner Slider Option you will see:

- Enable Banner Slider Section?: This option allows you to enable/disables the banner slider sections.
- Enable Slider Autoplay?: Check to make the slider autoplay.
- Select Taxonomy: There are Three available options which you can choose according to your requirement.
- Post Category
- Pages
- Trip Locations
- Trip Types

Options 1: When “Post Categories” is selected you will find the following option:
- Select Terms For Slider: This option will enable the choose the category to be displayed.
- Click the “Save & Publish” button to save changes.
Options 2: When “Pages” is selected you will find the following option:
- Select Pages For Slider: This option will enable the choose the category to be displayed.
- Click the “Save & Publish” button to save changes.
Note: Option 3 and 4 i.e. Trip Locations and Trip Types will appear in the dropdown option only after activation of WP Travel Plugin which is recommended by the theme.
Options 3: When Trip Locations is selected you will find following option:
- Select Destination: Select the desired location for the Slider section. The location that you have entered using the plugin will appear here.
- Number of Posts to slide: There is an option to select a number of slider posts.
- Click the“Save & Publish” button to save changes.
Options 4 : When Trip Types is selected you will find the following option:
- Select Trip Types: Select the desired Trip types for the Slider section. The trip type that you have entered using the plugin will appear here.
- Number of Posts to slide: There is an option to select a number of slider posts.
- Click the “Save & Publish” button to save changes.
Social Links:
Here is the list of social links that appear in the slider section:
- Facebook: This option allows you to enter the Facebook link.
- Twitter: This option allows you to enter the Twitter link.
- Instagram: This option allows you to enter the Instagram link.
- LinkedIn: This option allows you to enter the LinkedIn link.
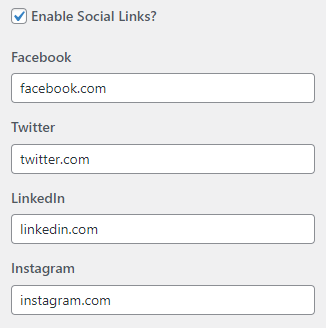
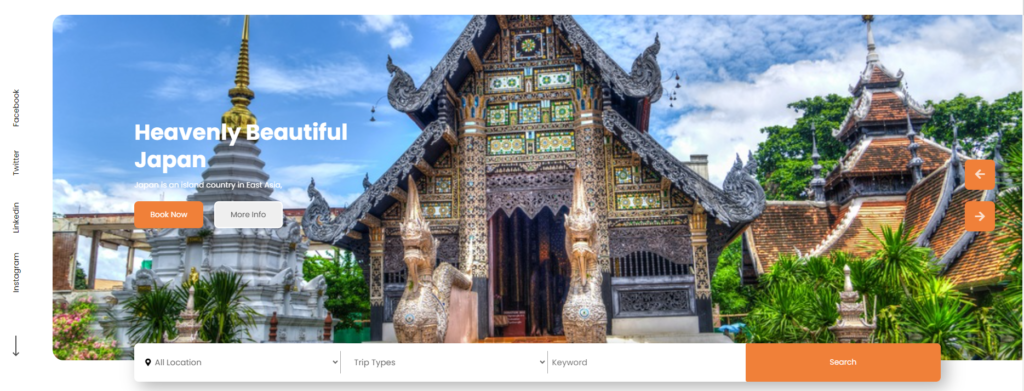
Also, there is a Search filter option that we can enable.
Front End:
Trip Activities #
Note: This section will only appear after activating the WP Travel Plugin. When WP Travel Plugin is activated which is recommended by the theme itself, a new section will appear in the Home Page section i.e. Trip Activities.
1. From the Customize section, go to Front Page.
2. From Front Page, you will see the Trip Activities Option.
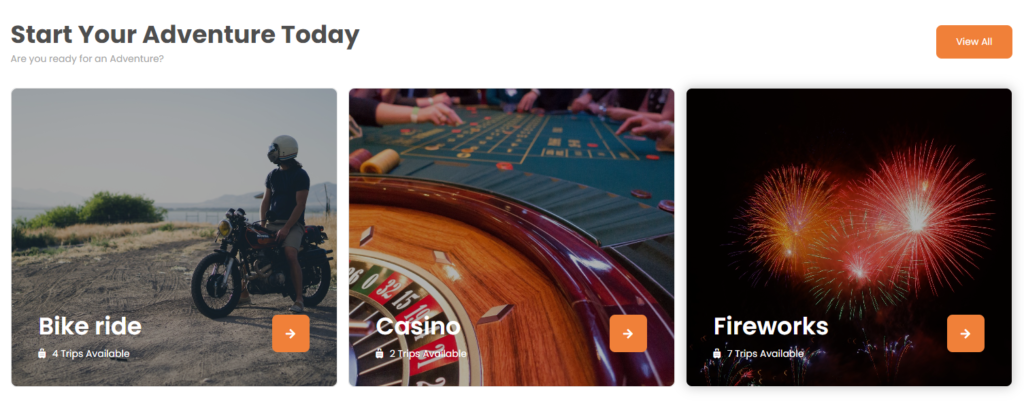
3. In Trip Activities Option you will see:
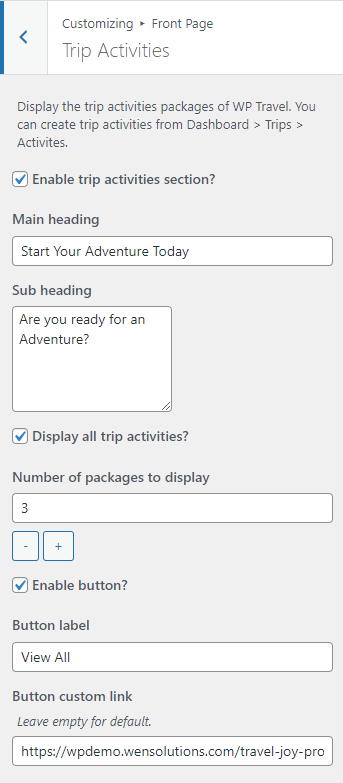
- Enable Trip Activities Section?: This option allows you to enable/disable the trip activities section as shown in the screenshot above.
When we enable the trip activities section, there are options. They are
- Main Heading: This option allows you to add a heading.
- Sub Heading: This option allows you to add a subheading.
- Display all Trips activities?: This option allows you to enable/disable the display of all trip activities.
After enabling it, the number of packages to display option is shown as shown in the screenshot which allows you to add a number of trips to show in the Trip Activities section.
After disabling it, there is an option to select the destinations options that you have assigned which you can choose according to your requirement. - Enable Button: This option allows you to enable/ disable the button.
After enabling the button, there is an option like- Button Label: This option allows you to add text according to your requirement.
- Button Custom Link: This option allows you to add a link.
Front End
Travel Process Guide #
From the Customize section, go to Front Page.
2. From Front Page, you will see Trip Process Guide Option.
3. In Trip Process Guide Option you will see:
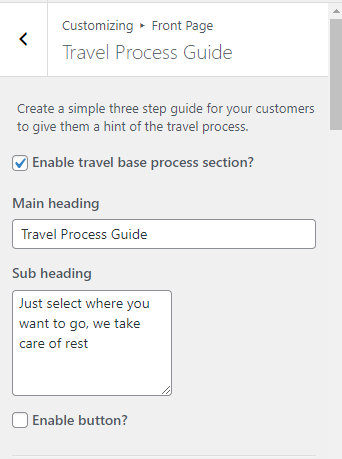
- Enable Trip Process Guide Section?: This option allows you to enable/disable the trip activities sections as shown in the screenshot above.
When we enable trip activities section, there are options. They are:
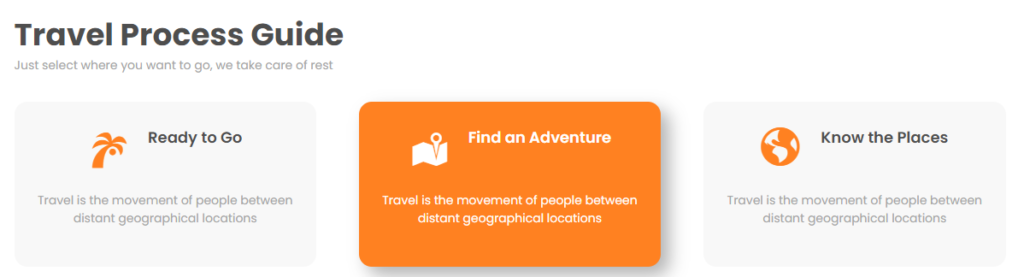
- Main Heading: This option allows you to add a heading.
- Sub Heading: This option allows you to add a subheading.
- Enable Button?: This option allows you to enable/ disable the button.
After enabling the button, there is an option like- Button Label: This option allows you to add text according to your requirement.
- Button Custom Link: This option allows you to add a link.
- Box One Attributes: This option allows you to add features like:
- Select Icon: This option allows you to select icons.
- Box Heading: This option allows you to add a heading.
- Box Content: This option allows you to add content.
- Box Two Attributes: This option allows you to add features like:
- Select Icon: This option allows you to select icons.
- Box Heading: This option allows you to add a heading.
- Box Content: This option allows you to add content.
- Box Three Attributes: This option allows you to add features like:
- Select Icon: This option allows you to select icons.
- Box Heading: This option allows you to add a heading.
- Box Content: This option allows you to add content.
Front End
Popular Destinations #
Note: This section will only appear after activating the WP Travel Plugin. When WP Travel Plugin is activated which is recommended by the theme itself, a new section will appear in the Home Page section i.e. Popular Destinations.
1. From the Customize section, go to Front Page.
2. From Front Page, you will see Popular Destinations Option.
3. In Popular Destinations Option you will see:
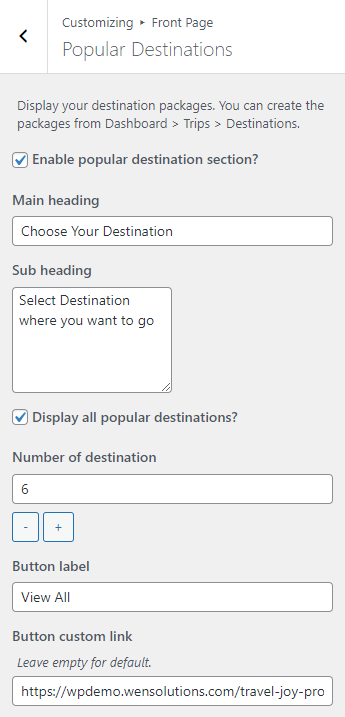
- Enable Popular Destinations Section?: This option allows you to enable/disable the popular destinations section as shown in the screenshot above.
When we enable the popular destinations section, there are options. They are
- Main Heading: This option allows you to add a heading.
- Sub Heading: This option allows you to add a subheading.
- Display all popular destinations?: This option allows you to enable/disable the display of all popular destinations that you have assigned.
After enabling it, the number of packages to display option is shown as shown in the screenshot which allows you to add a number of trips destination to show in the popular destinations section.
After disabling it, there is an option to select the destinations options that you have assigned which you can choose according to your requirement. - Button Label: This option allows you to add text according to your requirement.
- Button Custom Link: This option allows you to add a link.
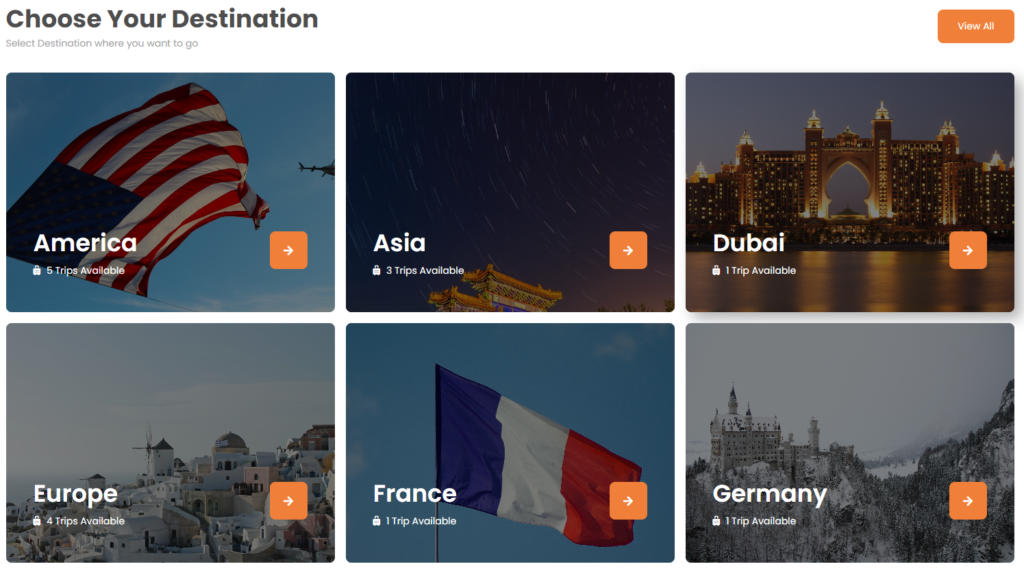
Front End
Featured Trips Slider #
Note: This section will only appear after activating the WP Travel Plugin. When WP Travel Plugin is activated which is recommended by the theme itself, a new section will appear in the Home Page section i.e. Featured Trip Slider.
1. From the Customize section, go to Front Page.
2. From Front Page, you will see Featured Trips Slider Option.
3. In the Featured Trips Slider Option you will see:
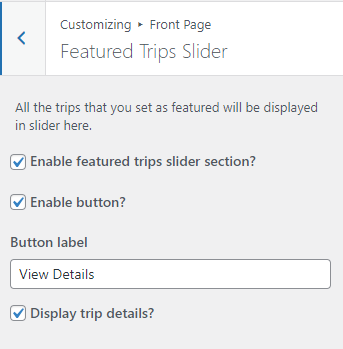
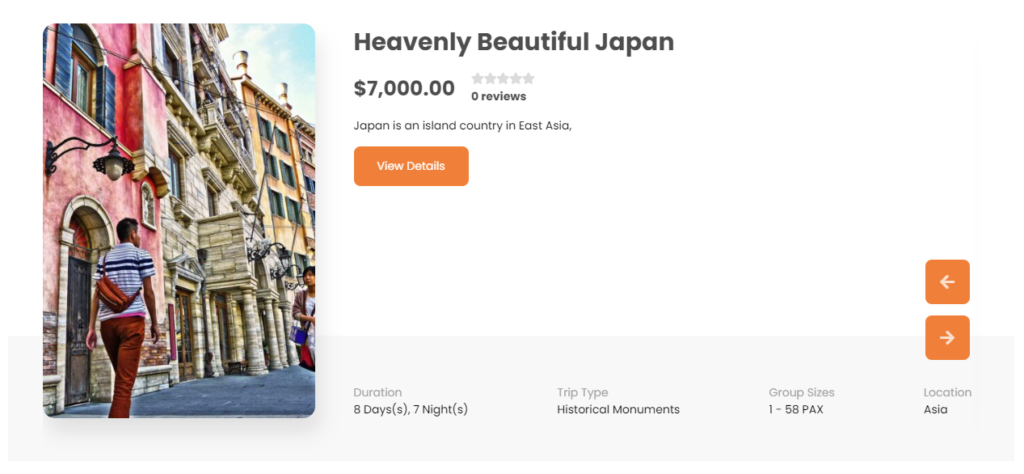
- Enable Featured Trips Slider Section?: This option allows you to enable/disable the featured trips slider section as shown in the screenshot above.
When we enable featured trips slider sections, there are options. They are
- Enable Button?: This option allows you to enable/disable the button.
- Button Label: After enable button, this option appeared and allows you to add text according to your requirement.
- Display Trips Details?: This option allows you to enable/disable display trips details which we can show featured trip details like:
- Duration
- Trip Type
- Group Sizes
- Location
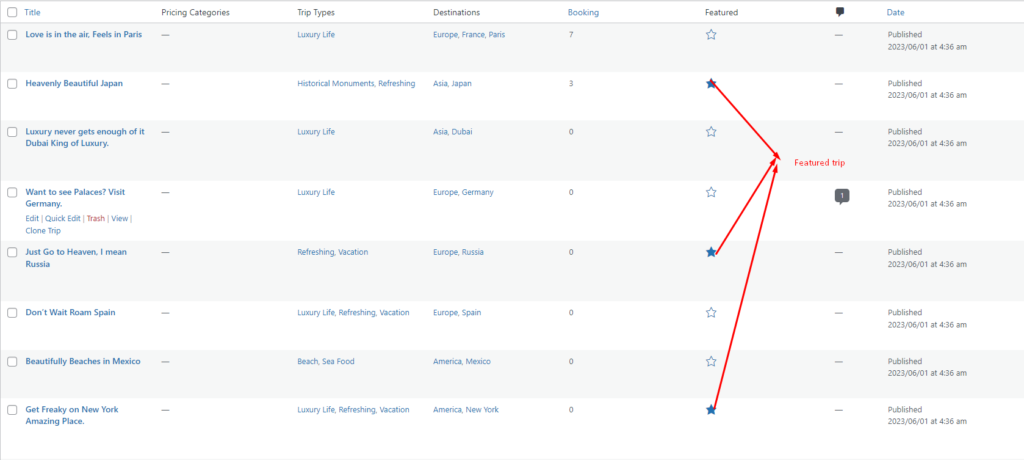
Backend
Frontend
Popular Trip Packages #
Note: This section will only appear after activating the WP Travel Plugin. When WP Travel Plugin is activated which is recommended by the theme itself, a new section will appear in the Home Page section i.e. Popular Trip Packages.
1. From the Customize section, go to Front Page.
2. From Front Page, you will see the Popular Trip Packages Option.
3. In Popular Trip Packages Option you will see:
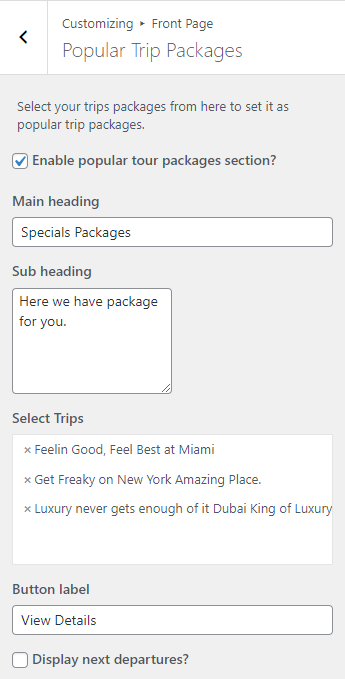
- Enable Popular Tour Packages Section?: This option allows you to enable/disable the popular tour packages section as shown in the screenshot above.
When we enable the popular tour packages section, there are options. They are
- Main Heading: This option allows you to add a heading.
- Sub Heading: This option allows you to add a subheading.
- Select Trips: This option allows you to choose the package trips or sale trips that have been assigned from the backend.
- Button Label: This option allows you to add text according to your requirement.
- Display Next Departure?: This option allows you to enable/disable the next departure.
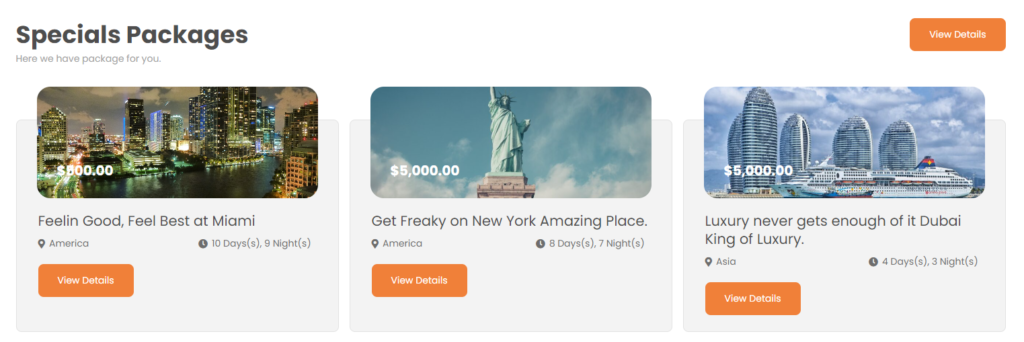
Frontend
Call To Action #
1. From the Customize section, go to Front Page.
2. From Front Page, you will see the Call to action Option.
3. In Call to action you will see:

Enable Call To Action?: This option allows you to enable/disable the call to action section as shown in the screenshot above.
When we enable the call to action section, there are options. They are
- Select page: This option allows you to select the page that you want to feature
- Button Label: This option allows you to add text according to your requirements.
- Button Custom Link: This option allows you to add a link.
- Excerpt Length: This option allows you to define the number of words or characters displayed in the excerpt of selected page/post.
Counter #
1. From the Customize section, go to Front Page.
2. From Front Page, you will see the Counter Option.
3. In the Counter Option you will see:
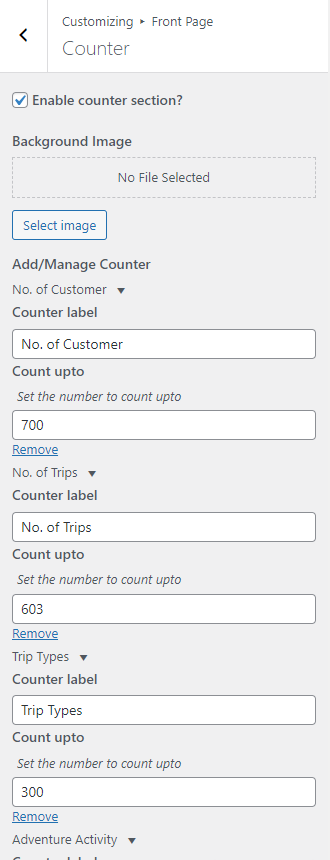
- Enable Counter Section?: This option allows you to enable/disable the counter section as shown in the screenshot above.
When we enable the counter section, there are options. They are
- Background Image: This option allows you to select an image.
- Add Counter: This option allows you to add a counter.
- Counter Label
- Count Upto
Note: Only 4 rows counter limit for adding counter
Frontend

Blogs #
1. From the Customize section, go to Front Page.
2. From Front Page, you will see the Blogs Option.
3. In Blogs Option you will see:

- Enable Blogs Section?: This option allows you to enable/disables the blogs sections.
When we enable the blogs section, there are options. They are
- Main Heading: This option allows you to add a heading.
- Sub Heading: This option allows you to add a subheading.
- Select Taxonomy: There are Three available options which you can choose according to your requirement.
- Post Category
- Pages
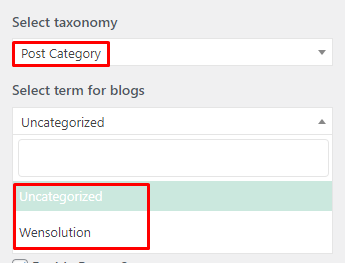
Options 1: When Post Category is selected you will find the following option:
- This option appears after selecting Post Category which allows you to select categories as shown in the screenshot below:
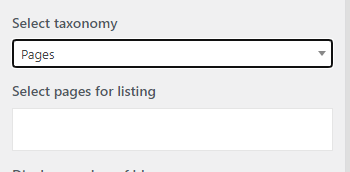
Options 2 : When Pages is selected you will find the following option:
- Select pages for listing: This option appears after selecting Post Category which allows the pages as shown in the screenshot below:
4. Display Number of Blogs: This allows you to add a number of blogs to show in the blogs section
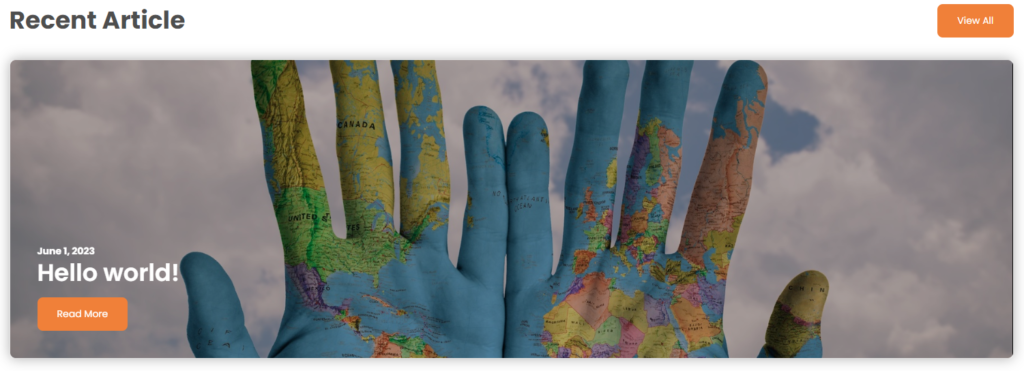
Frontend:
Testimonials #
1. From the Customize section, go to Front Page.
2. From Front Page, you will see Testimonials Option.
3. In Testimonials Option you will see:
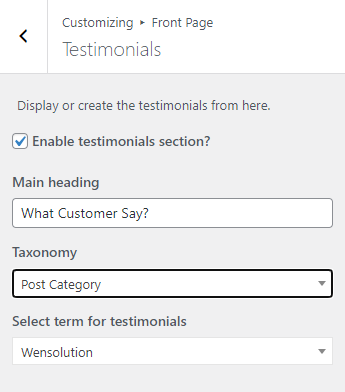
- Enable Testimonials Section?: This option allows you to enable/disables the testimonials section.
When we enable the testimonials section, there are options. They are
- Main Heading: This option allows you to add a heading.
- Taxonomy: There are Three available options which you can choose according to your requirement.
- Select Category
- Post Category
- Pages
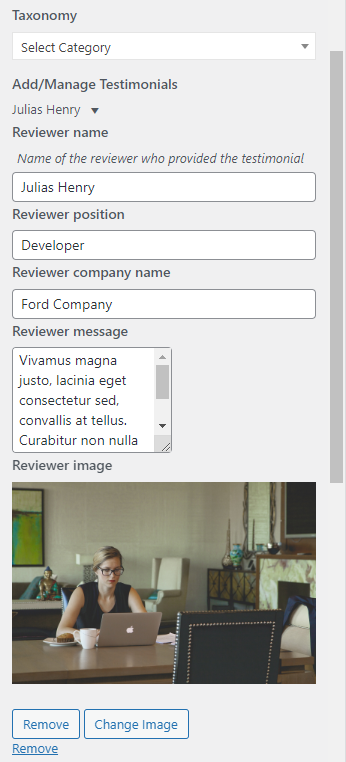
Options 1: When Select Category is selected you will find the following option:
- Add Testimonials: This option appears after selected Select Category which allows adding testimonial as shown in the screenshot below:
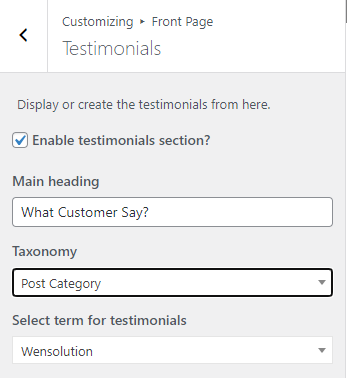
Options 2: When Post Category is selected you will find following option:
- Select Term for Testimonials: This option appears after selected Post Category which allows to select categories as shown in the screenshot below:
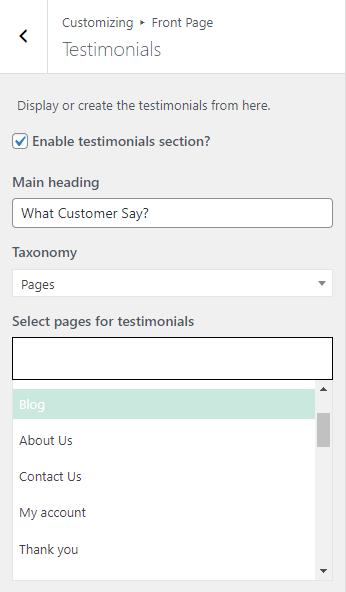
Options 3 : When Pages is selected you will find following option:
- Select Pages for Testimonials: This option appears after selected Pages which allows the pages as shown in the screenshot below:
Frontend:

Featured on #
1. From the Customize section, go to Front Page.
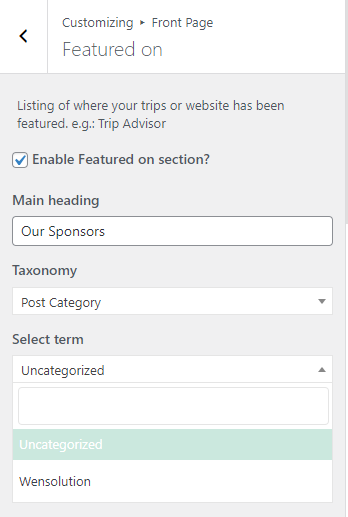
2. From Front Page, you will see Featured on Option.
3. In Featured on Option you will see:
- Enable Featured on Section?: This option allows you to enable/disables the featured on section.
When we enable the feature on section, there are options. They are
- Main Heading: This option allows you to add a heading.
- Taxonomy: There are Three available options which you can choose according to your requirement.
- Select Category
- Post Category
- Pages
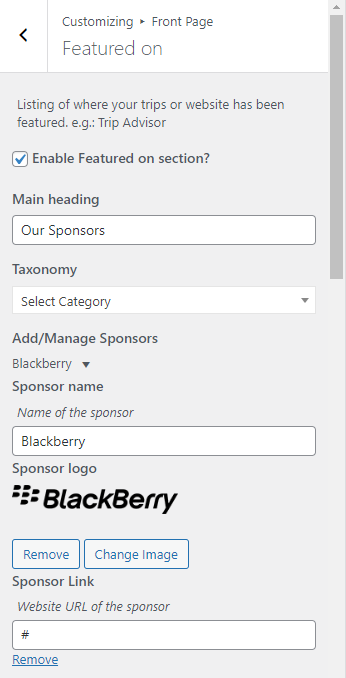
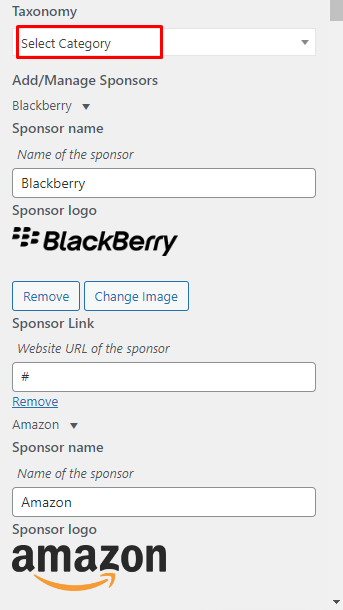
Options 1: When Select Category is selected you will find the following option:
- Add Sponsor: This option appears after selected Select Category which allows adding sponsor as shown in the screenshot below:
Options 2: When Post Category is selected you will find the following option:
- Select Term: This option appears after selected Post Category which allows to select categories as shown in the screenshot below:
Options 3 : When Pages is selected you will find following option:
- Select Pages for Testimonials: This option appears after selected Pages which allows the pages.
Frontend: