Table of Contents
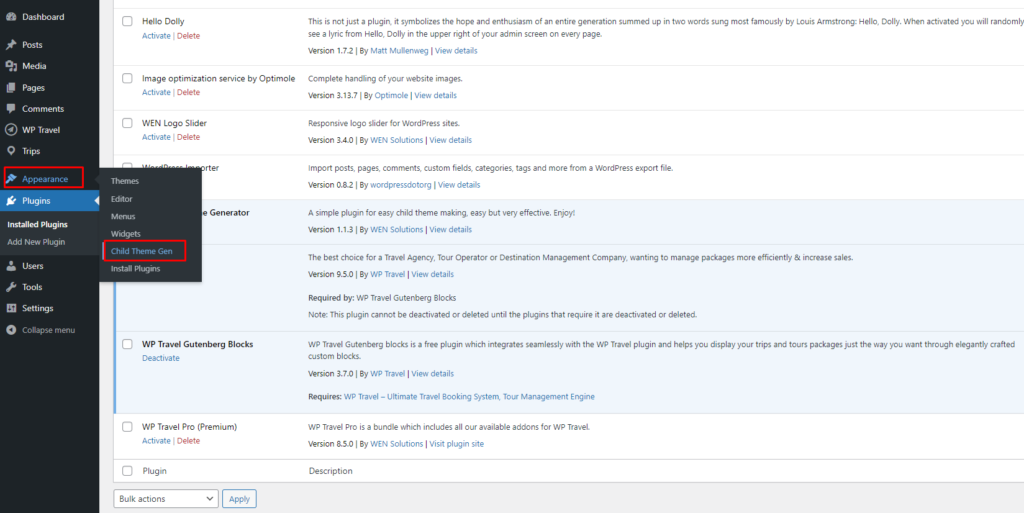
Step 1: Access the Plugin: #
- After activation, navigate to Appearance > Child Theme Gen in your WordPress admin panel
Step 2: Select Parent Theme: #
- Choose the theme you want to create a child theme for from the drop-down list.

Step 3: Enter the Child Theme Information: #
Fill in the required fields:
- Child Theme Name: The name for your child theme.
- Author Name: Your name or the theme author’s name.
- Child Theme Description: A brief description of the child theme.
Optional Information:
- Theme URI: URL to the theme’s website (optional).
- Author URI: URL to the author’s website (optional).
- Version: Set a version number (optional).
- License: License type (optional).
- License URL: Link to the license information (optional).
- Tags: Tags for theme classification (optional).

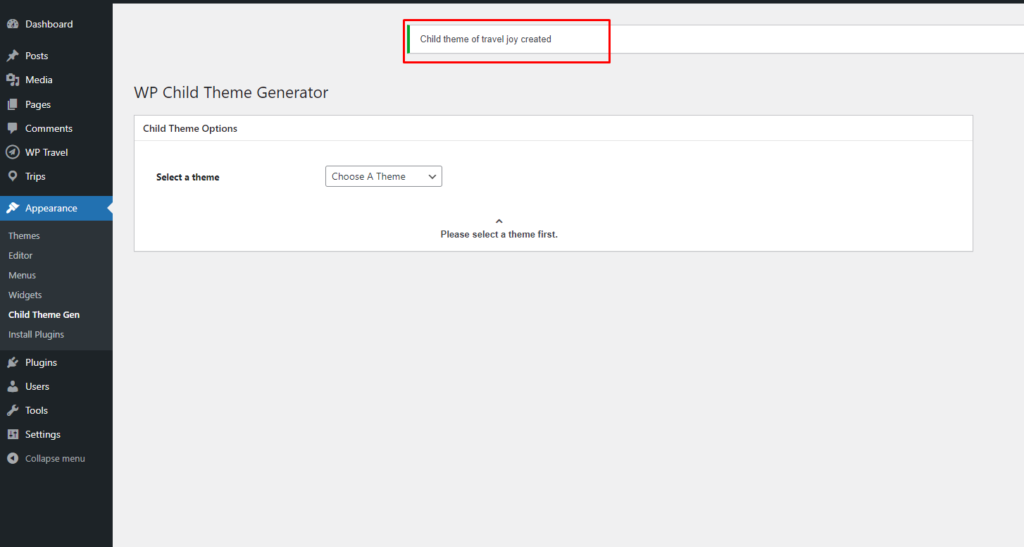
Step 4: Create the Child Theme: #
- Once all the required and optional fields are filled out, click Create Child Theme.
- The plugin will generate and install the child theme automatically.
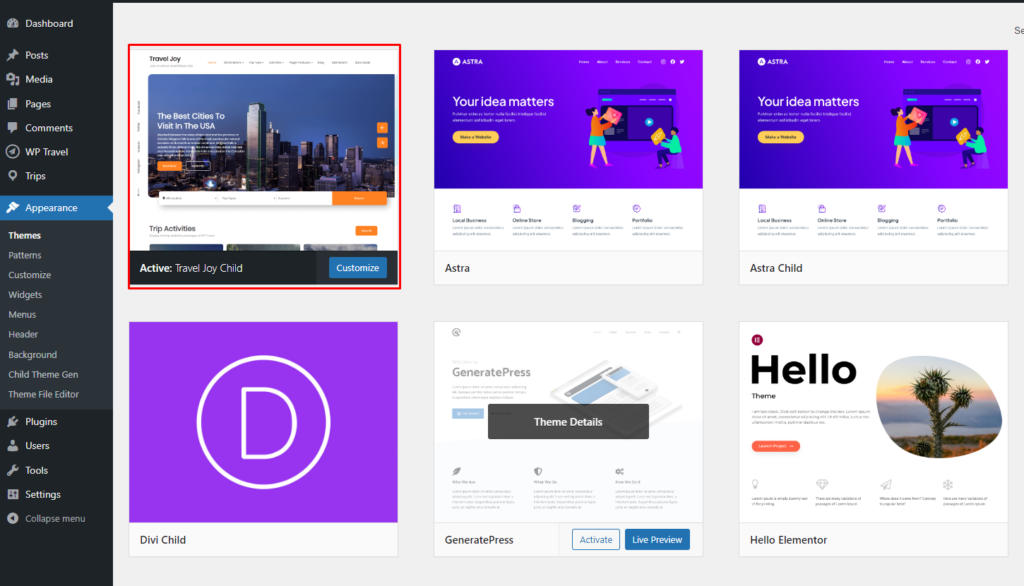
Step 5: Activate the Child Theme: #
- After the child theme is created, go to Appearance > Themes.
- Locate your new child theme and click Activate.
Step 6: Customize Your Child Theme: #
- Navigate to Appearance > Theme File Editor to add custom CSS to
style.cssor modifyfunctions.phpfor additional functionality.
This method will help you create and activate a child theme easily, ensuring that future updates to the parent theme won’t affect your customizations.


